 Inquiry
Product care instructions

Ice Maker
Water Heater
Guide
Installation guide
01
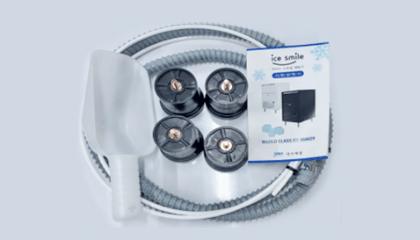
Please check the separate components
included with the product.
included with the product.
02
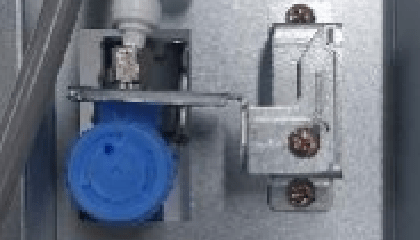
Insert the water hose into the
solenoid valve water inlet until it does not fit.
solenoid valve water inlet until it does not fit.
03
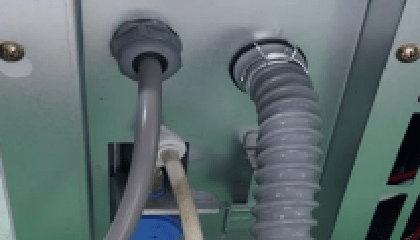
Assemble the drain hose by inserting it
into the drain hole and secure it using the clamp.
into the drain hole and secure it using the clamp.
04
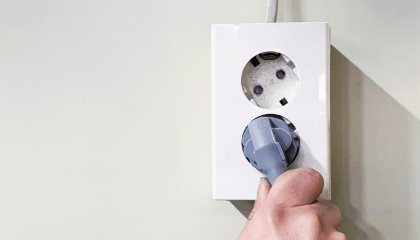
Connect the power cordset
to AC 220V, 50HZ.
to AC 220V, 50HZ.
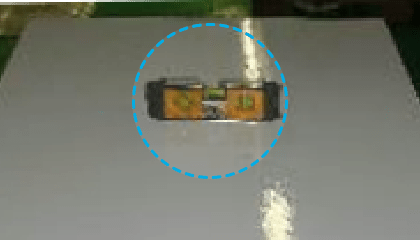
05
After moving this equipment to its final installation location, level it using a level gauge.
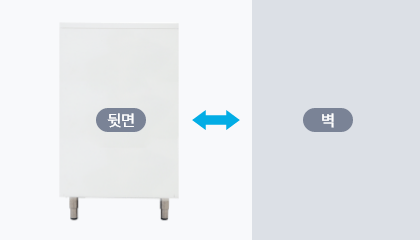
06
Install with a gap of at least 15cm between the back of the equipment and the wall.
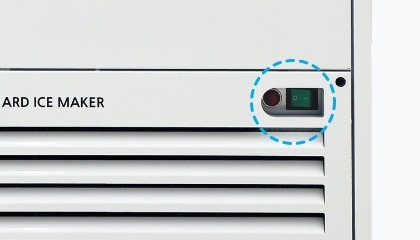
07
When all preparations are complete, turn on the main switch located at the bottom of the front of the equipment.
Guide
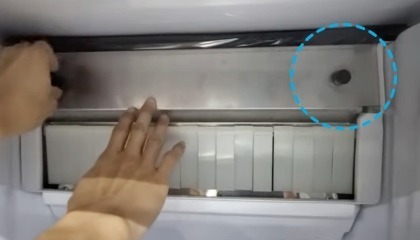
Eva Cup Evaporator Cleaning Guide
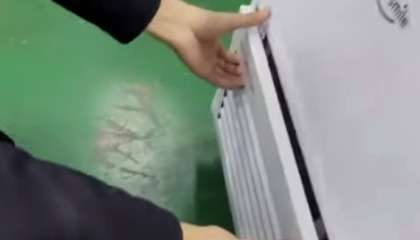
01
Remove the top cover as shown
in the photo above.
in the photo above.
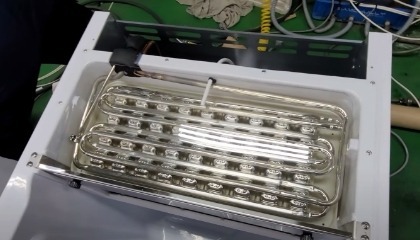
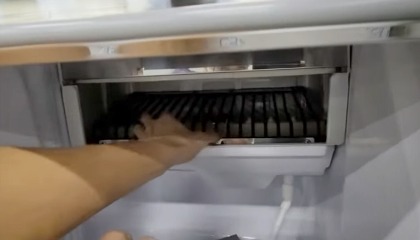
02
After removing the acrylic cover, remove any foreign substances accumulated in the Eva cup area by blowing with air.
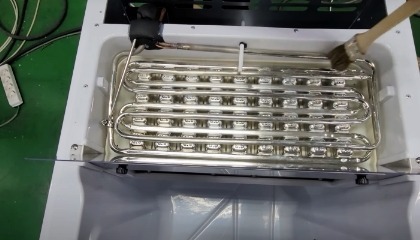
03
After removing dust or foreign substances, reassemble, being careful not to change the positions of existing parts.
To remove the upper cover, first remove the rear left and right cross bolts, lift the back of the cover upward, push it forward, rotate the cover about 45 degrees to the left and right, and then lift it upward to easily remove it.
Guide
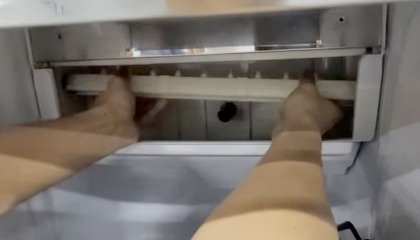
Water tank cleaning guide
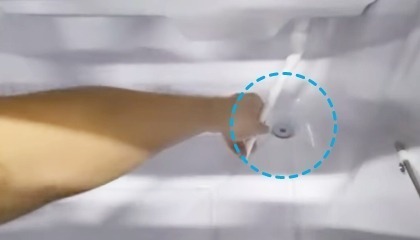
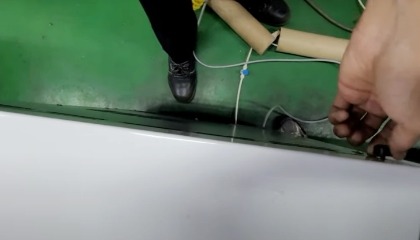
01
Please move the water tank hose from the hole as shown in the picture below.
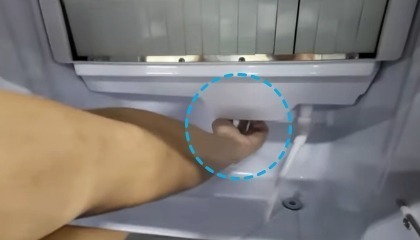
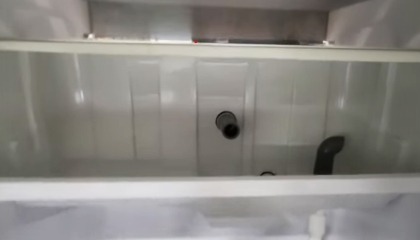
02
Pull and remove the rubber stopper located under the water tank.
03
After disassembling the two knobs, separate the water barrier parts.
04
Lift the inner slide net upward and move it outward.
05
Lift the inner nozzle bar assembly upward and move it outward.
06
Once the water tank and all parts have been removed, clean it using a damp cloth and clean water.
Changing the positions of other parts during disassembly/cleaning may cause fatal problems in the operation of the equipment, so if possible, please accompany a technician during cleaning.
Guide
Cooling fins & Air filter cleaning guide
01
Lightly hold the upper left and right sides of the lower front of the equipment with your hands and pull forward to remove the cover.
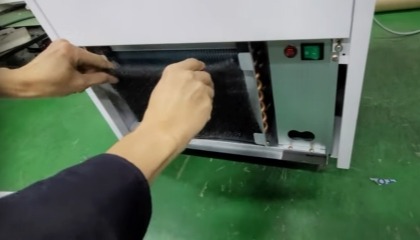
02
Take the air filter out of the condenser and remove any dust.
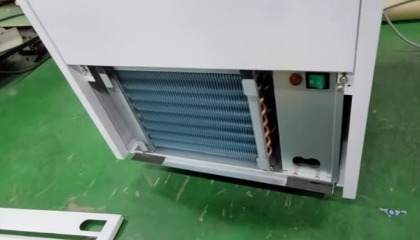
03
Remove dust from the condenser cooling fins and assemble in reverse order.
During use, remove dust once every two weeks.
If dust removal is poor, ice production may be delayed or it may cause machine failure.
If dust removal is poor, ice production may be delayed or it may cause machine failure.
Guide
Installation guide
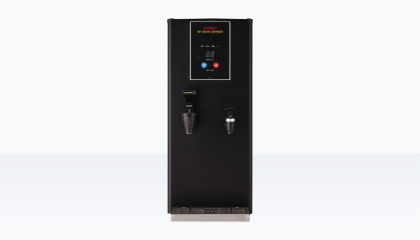
01
Install the water heater on a level floor.
02
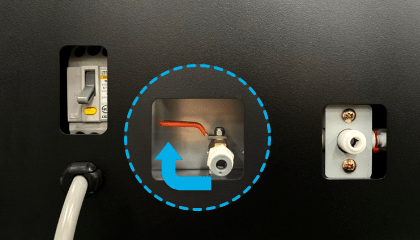
Close the left cleaning drain valve on the rear of the product.
03
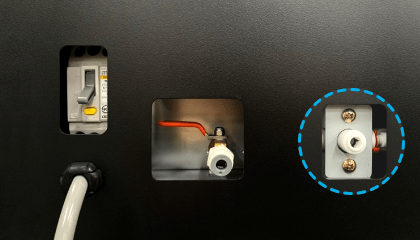
Connect the pressure reducing valve and water hose to the right direct water fitting.

04
Insert the plug into an outlet with AC220V 60Hz 10A or higher.
05
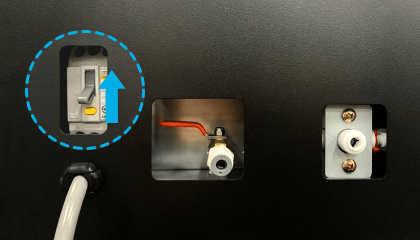
Turn the left breaker switch on the rear of the product upwards to turn it on.

06
Use the operating panel on the front of the product to set the temperature you want.
There is a risk of fire if you do not use an outlet with an allowable current of 10A or more.
Cleaning
How to Clean a Water Heater
01
Turn off the operation switch on the back of the product.
02
Wait until the temperature of the internal water tank reaches room temperature.
03
Open the cleaning drain valve on the rear to drain all water from the water tank.
04
Remove the multi-purpose plate and remove all four cross-shaped bolts on the top cover.
05
Remove both cross-shaped bolts on the inner cover.
06
When all processes are complete, use a cloth to remove any foreign substances inside.
07
After cleaning, proceed with assembly in the reverse order of disassembly.
08
Finally, close the cleaning drain valve at the rear.